


Shopping List
Directions
Step 1
Step 2
Step 3
Step 4
Step 5
Step 6
Step 7
Step 8
Step 9
Step 10
Step 11
Step 12
Step 13
Step 14
Step 15
Step 16
Step 17
Step 18
Step 19
Step 20
Step 21
Step 22
Step 23
Step 24
Step 25
To Use
Bath Bombs & Bubble Bars Recipes
Recipe
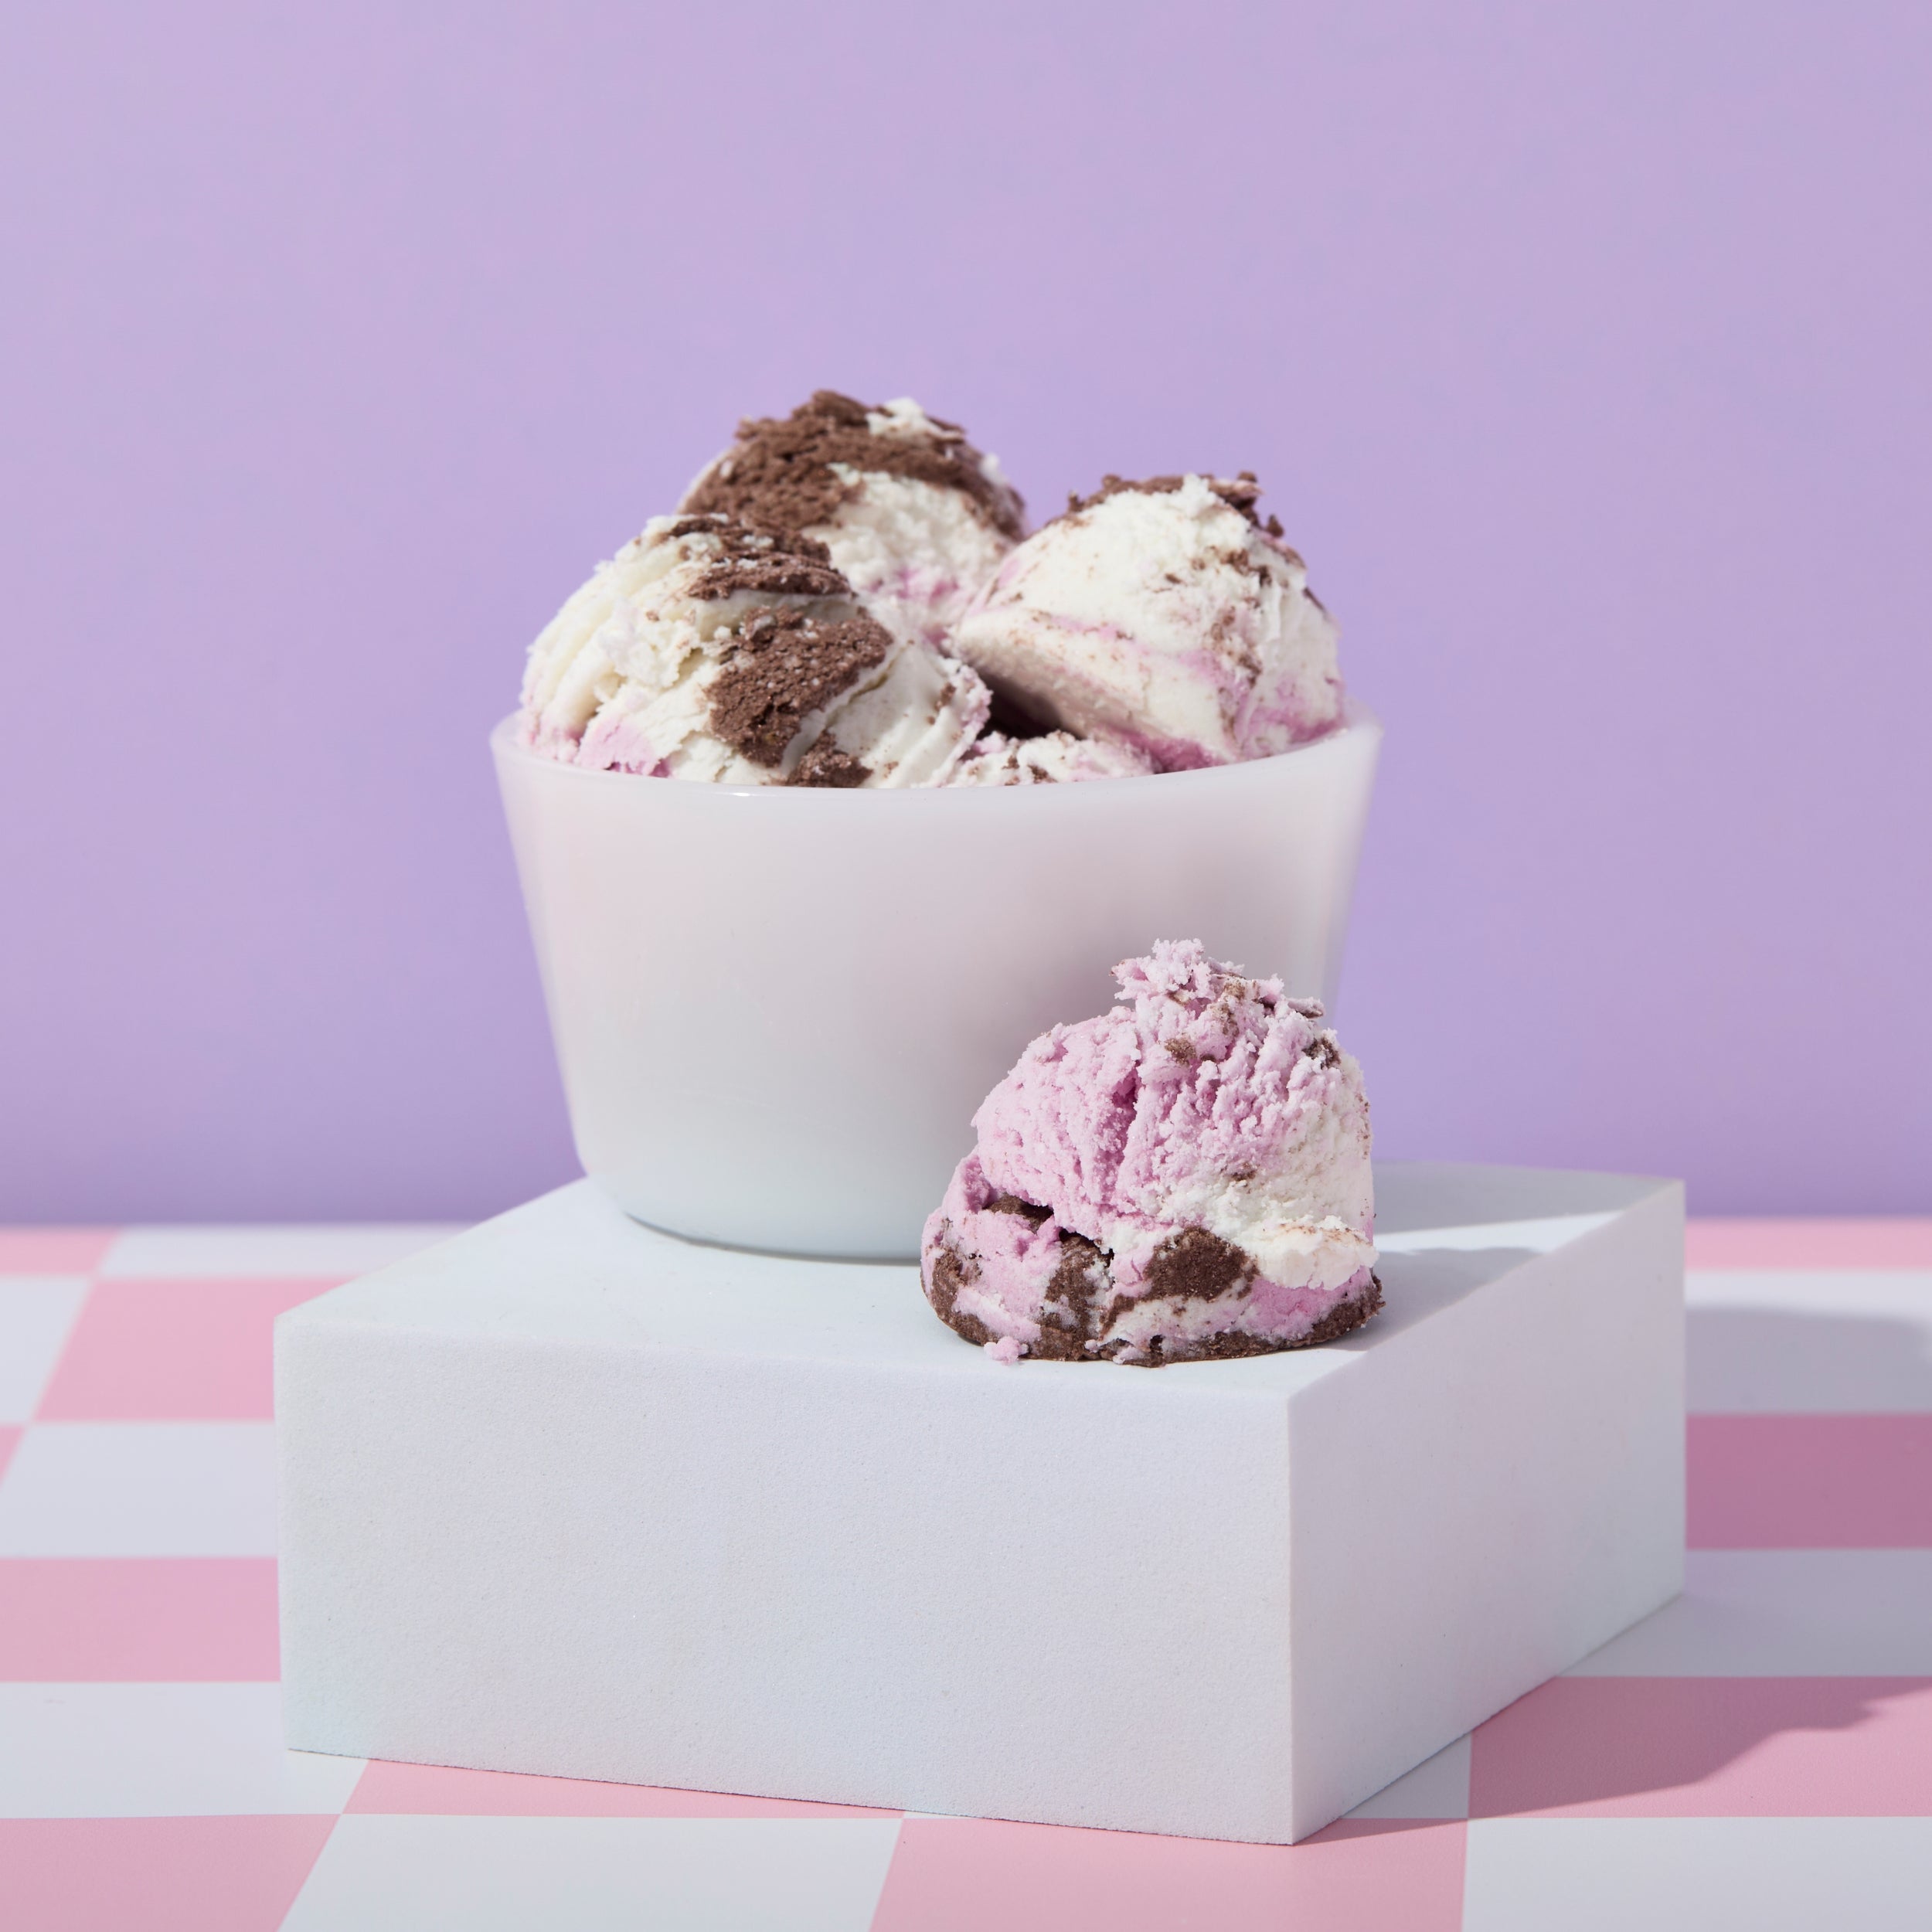
Neapolitan Ice Cream Bubble Bars Recipe
Recipe
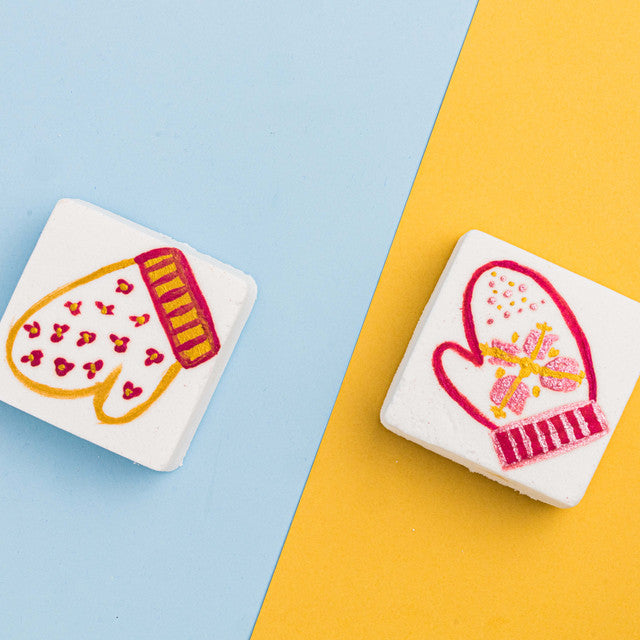
Winter Mittens Bath Bomb Recipe
Recipe
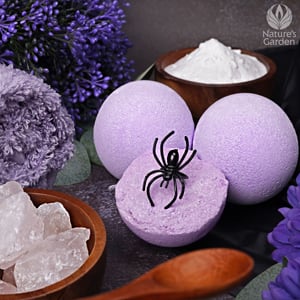
Wicked Bath Bomb Recipe

Recipe
Volcano Bubble Bombs Recipe

Recipe
Unicorn Wishes Bath Bomb Recipe
Recipe
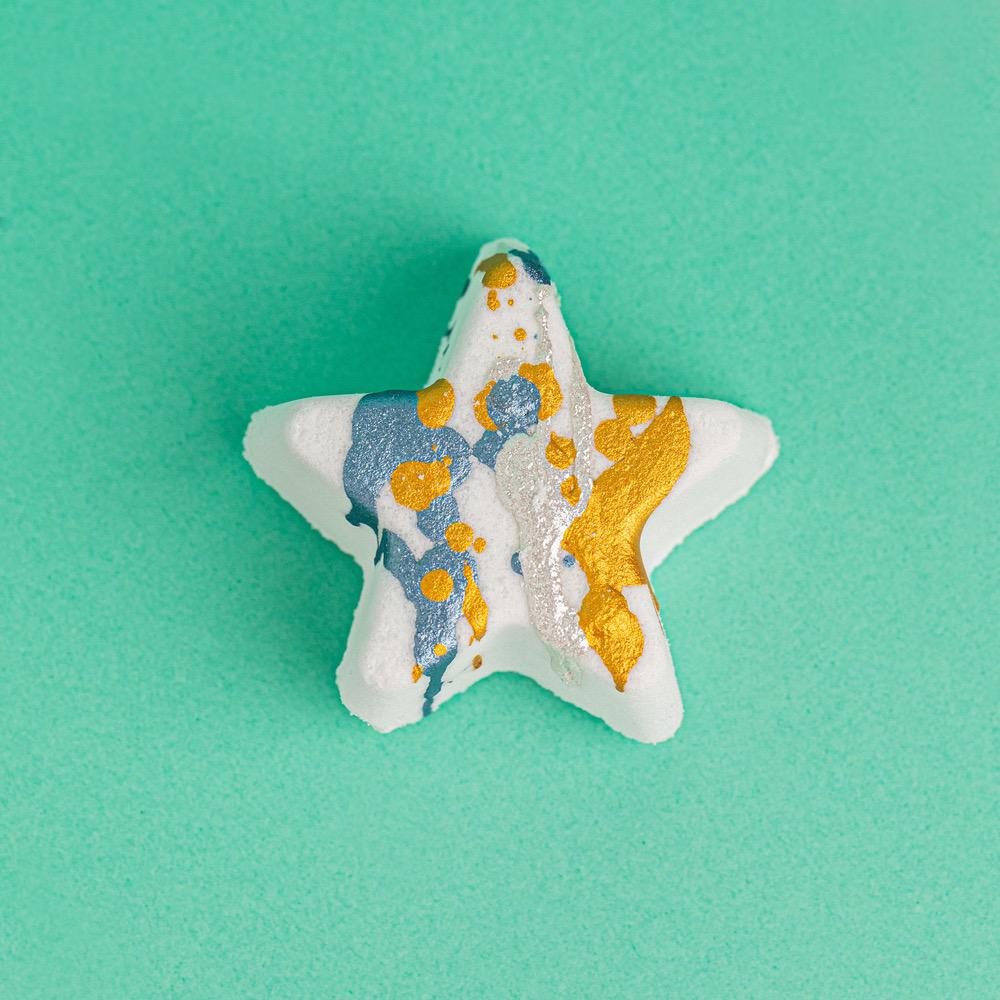
Stargazing Bath Bombs Recipe
Recipe
Sparkling Champagne Bubble Bath Recipe
Recipe
Sinus Relief Bath Bomb Recipe
Recipe
Royal Cherries Jubilee Bath Fizzies Recipe
Recipe
Sandalwood Bath Bomb Recipe
Recipe
Sangria Shimmer Bomb Recipe
Recipe
Rose Petal Bath Fizzy Recipe

Recipe
Rosemary Bath Bomb Recipe

Recipe
Pumpkin Bath Melts Recipe
Recipe