


Shopping List
Directions
Step 1
Step 2
Step 3
Step 4
Step 5
Step 6
Step 7
Step 8
Step 9
Step 10
Step 11
Step 12
Step 13
Step 14
Step 15
Step 16
Step 17
Step 18
Step 19
Step 20
Step 21
Step 22
Step 23
Step 24
Step 25
Step 26
Step 27
Step 28
Step 29
To Use
Candles Recipes

Recipe
Boho Belle Pillar Candle Recipe
Recipe
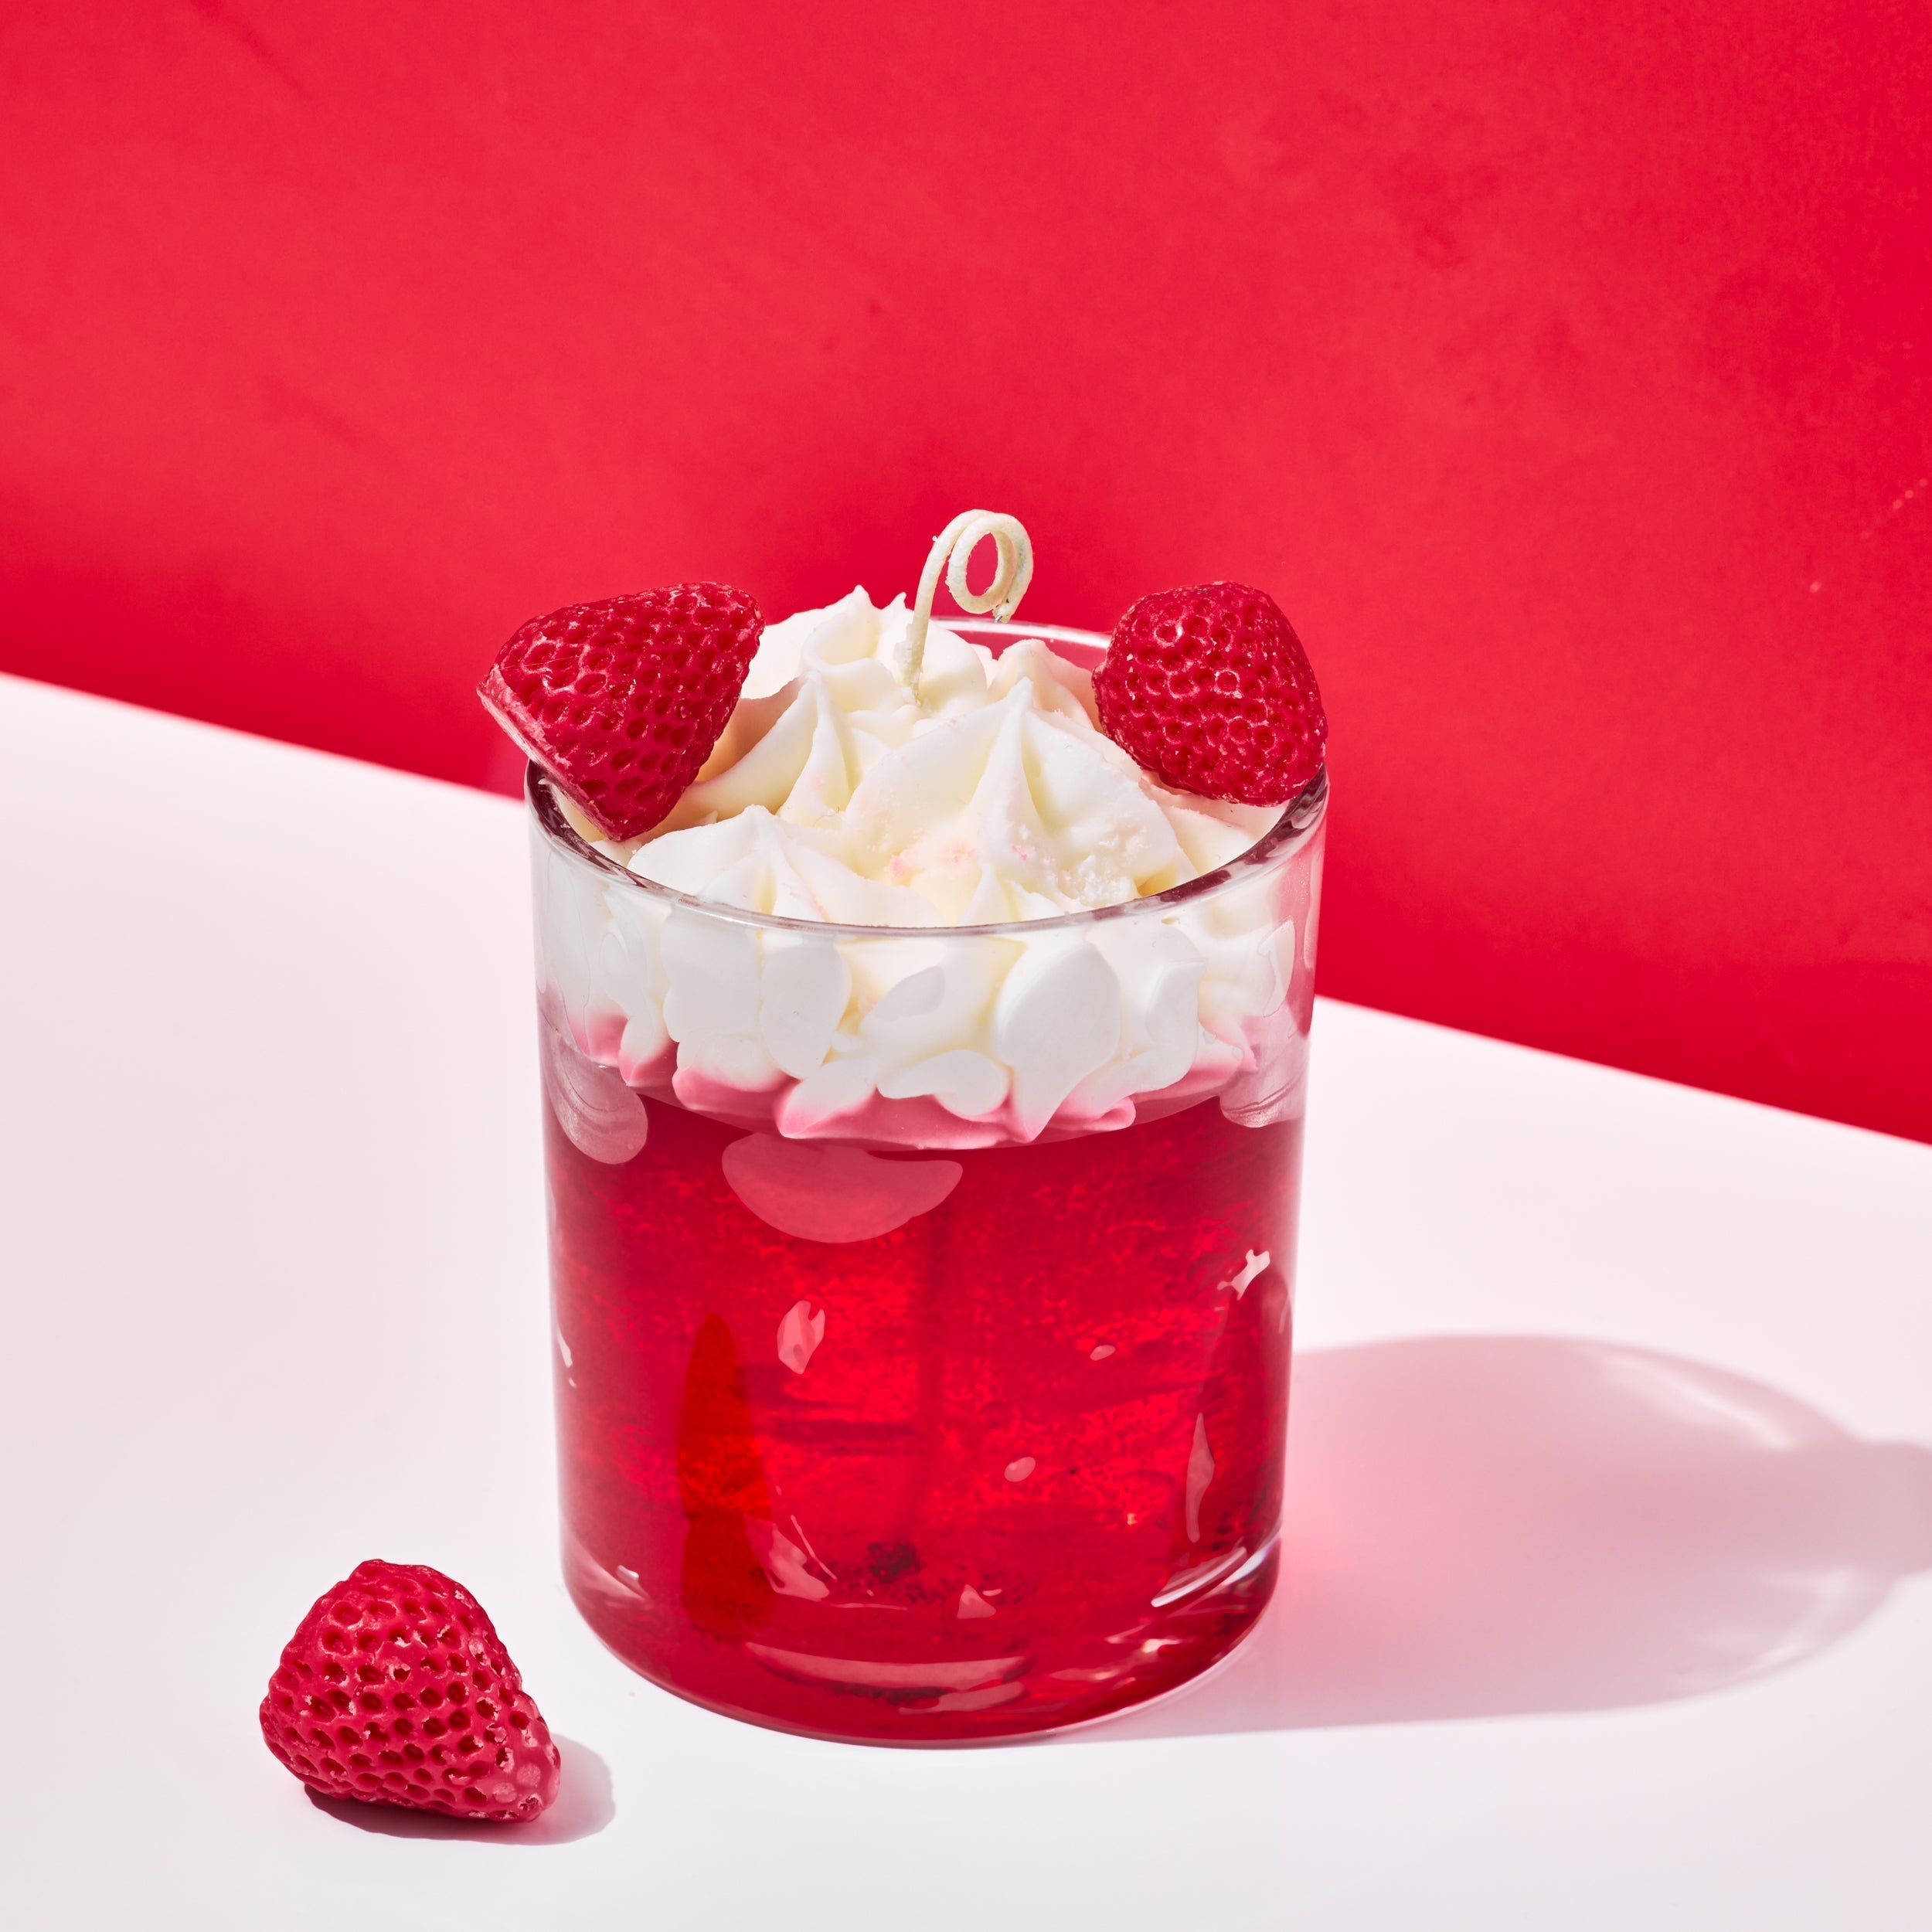
Strawberries and Cream Candle Recipe
Recipe
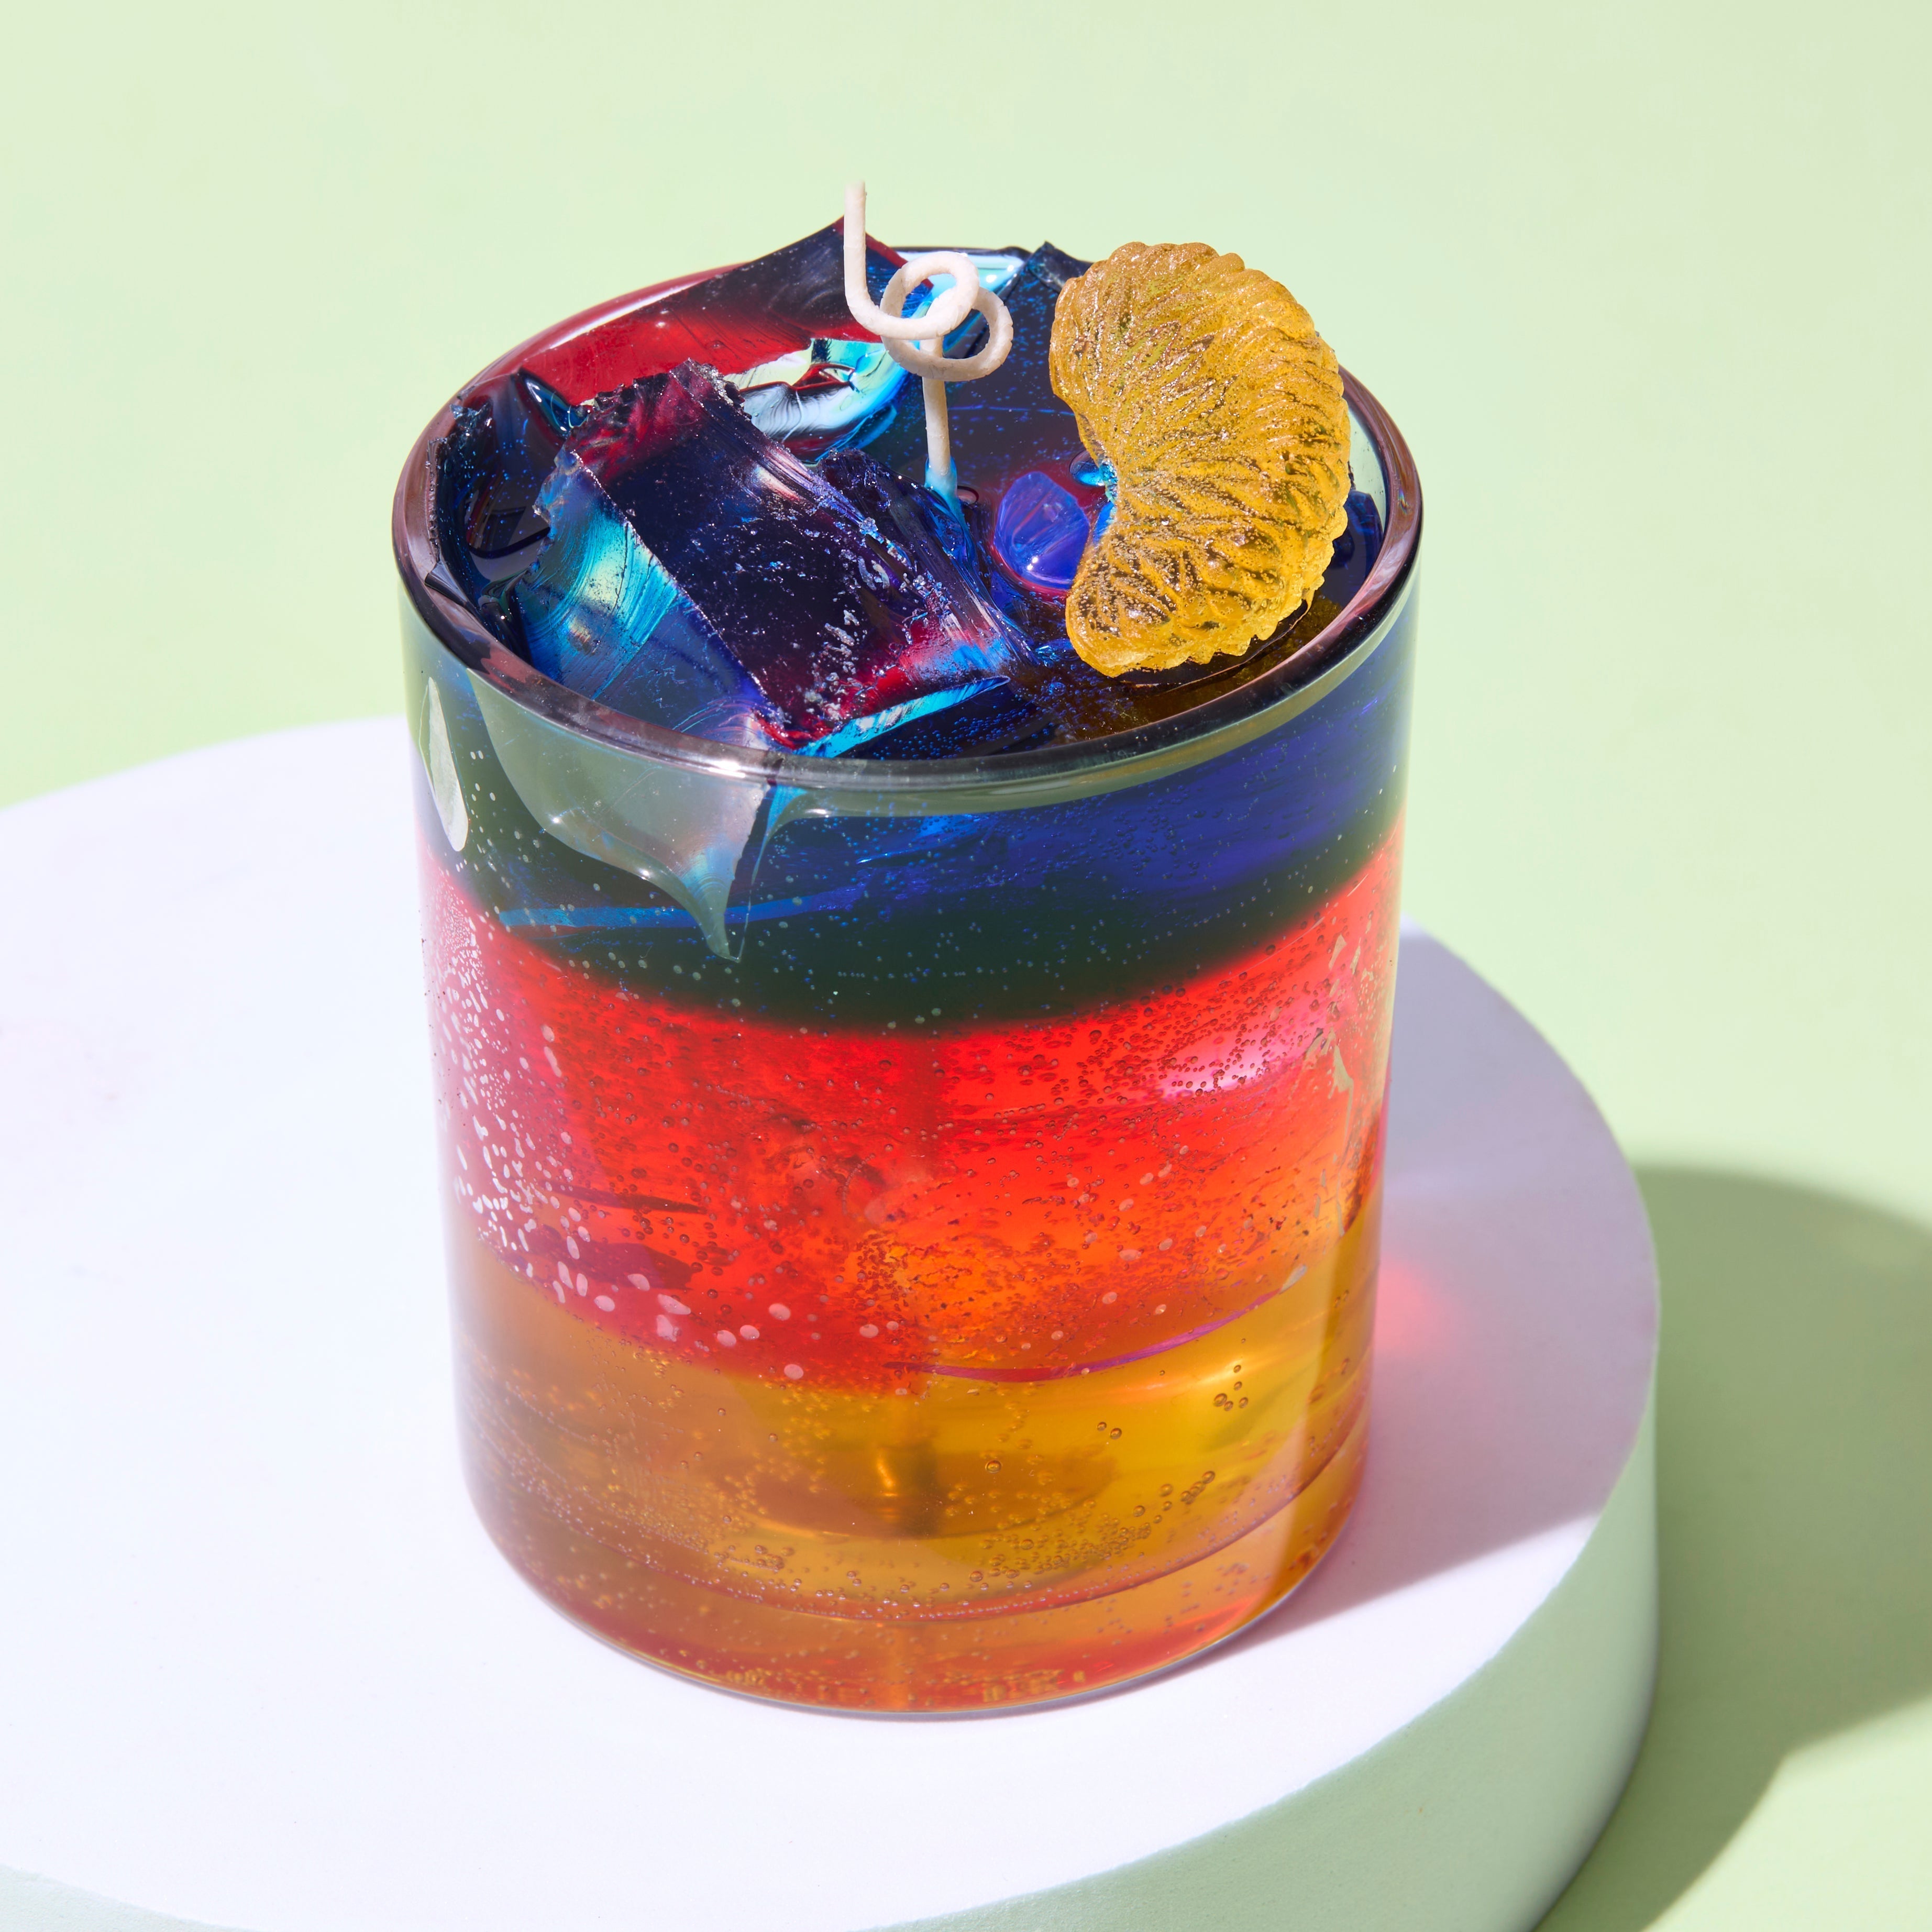
Rainbow Cooler Gel Wax Candle Recipe

Recipe
Sangria Gel Wax Candle Recipe

Recipe
Margarita Gel Wax Candle Recipe
Recipe
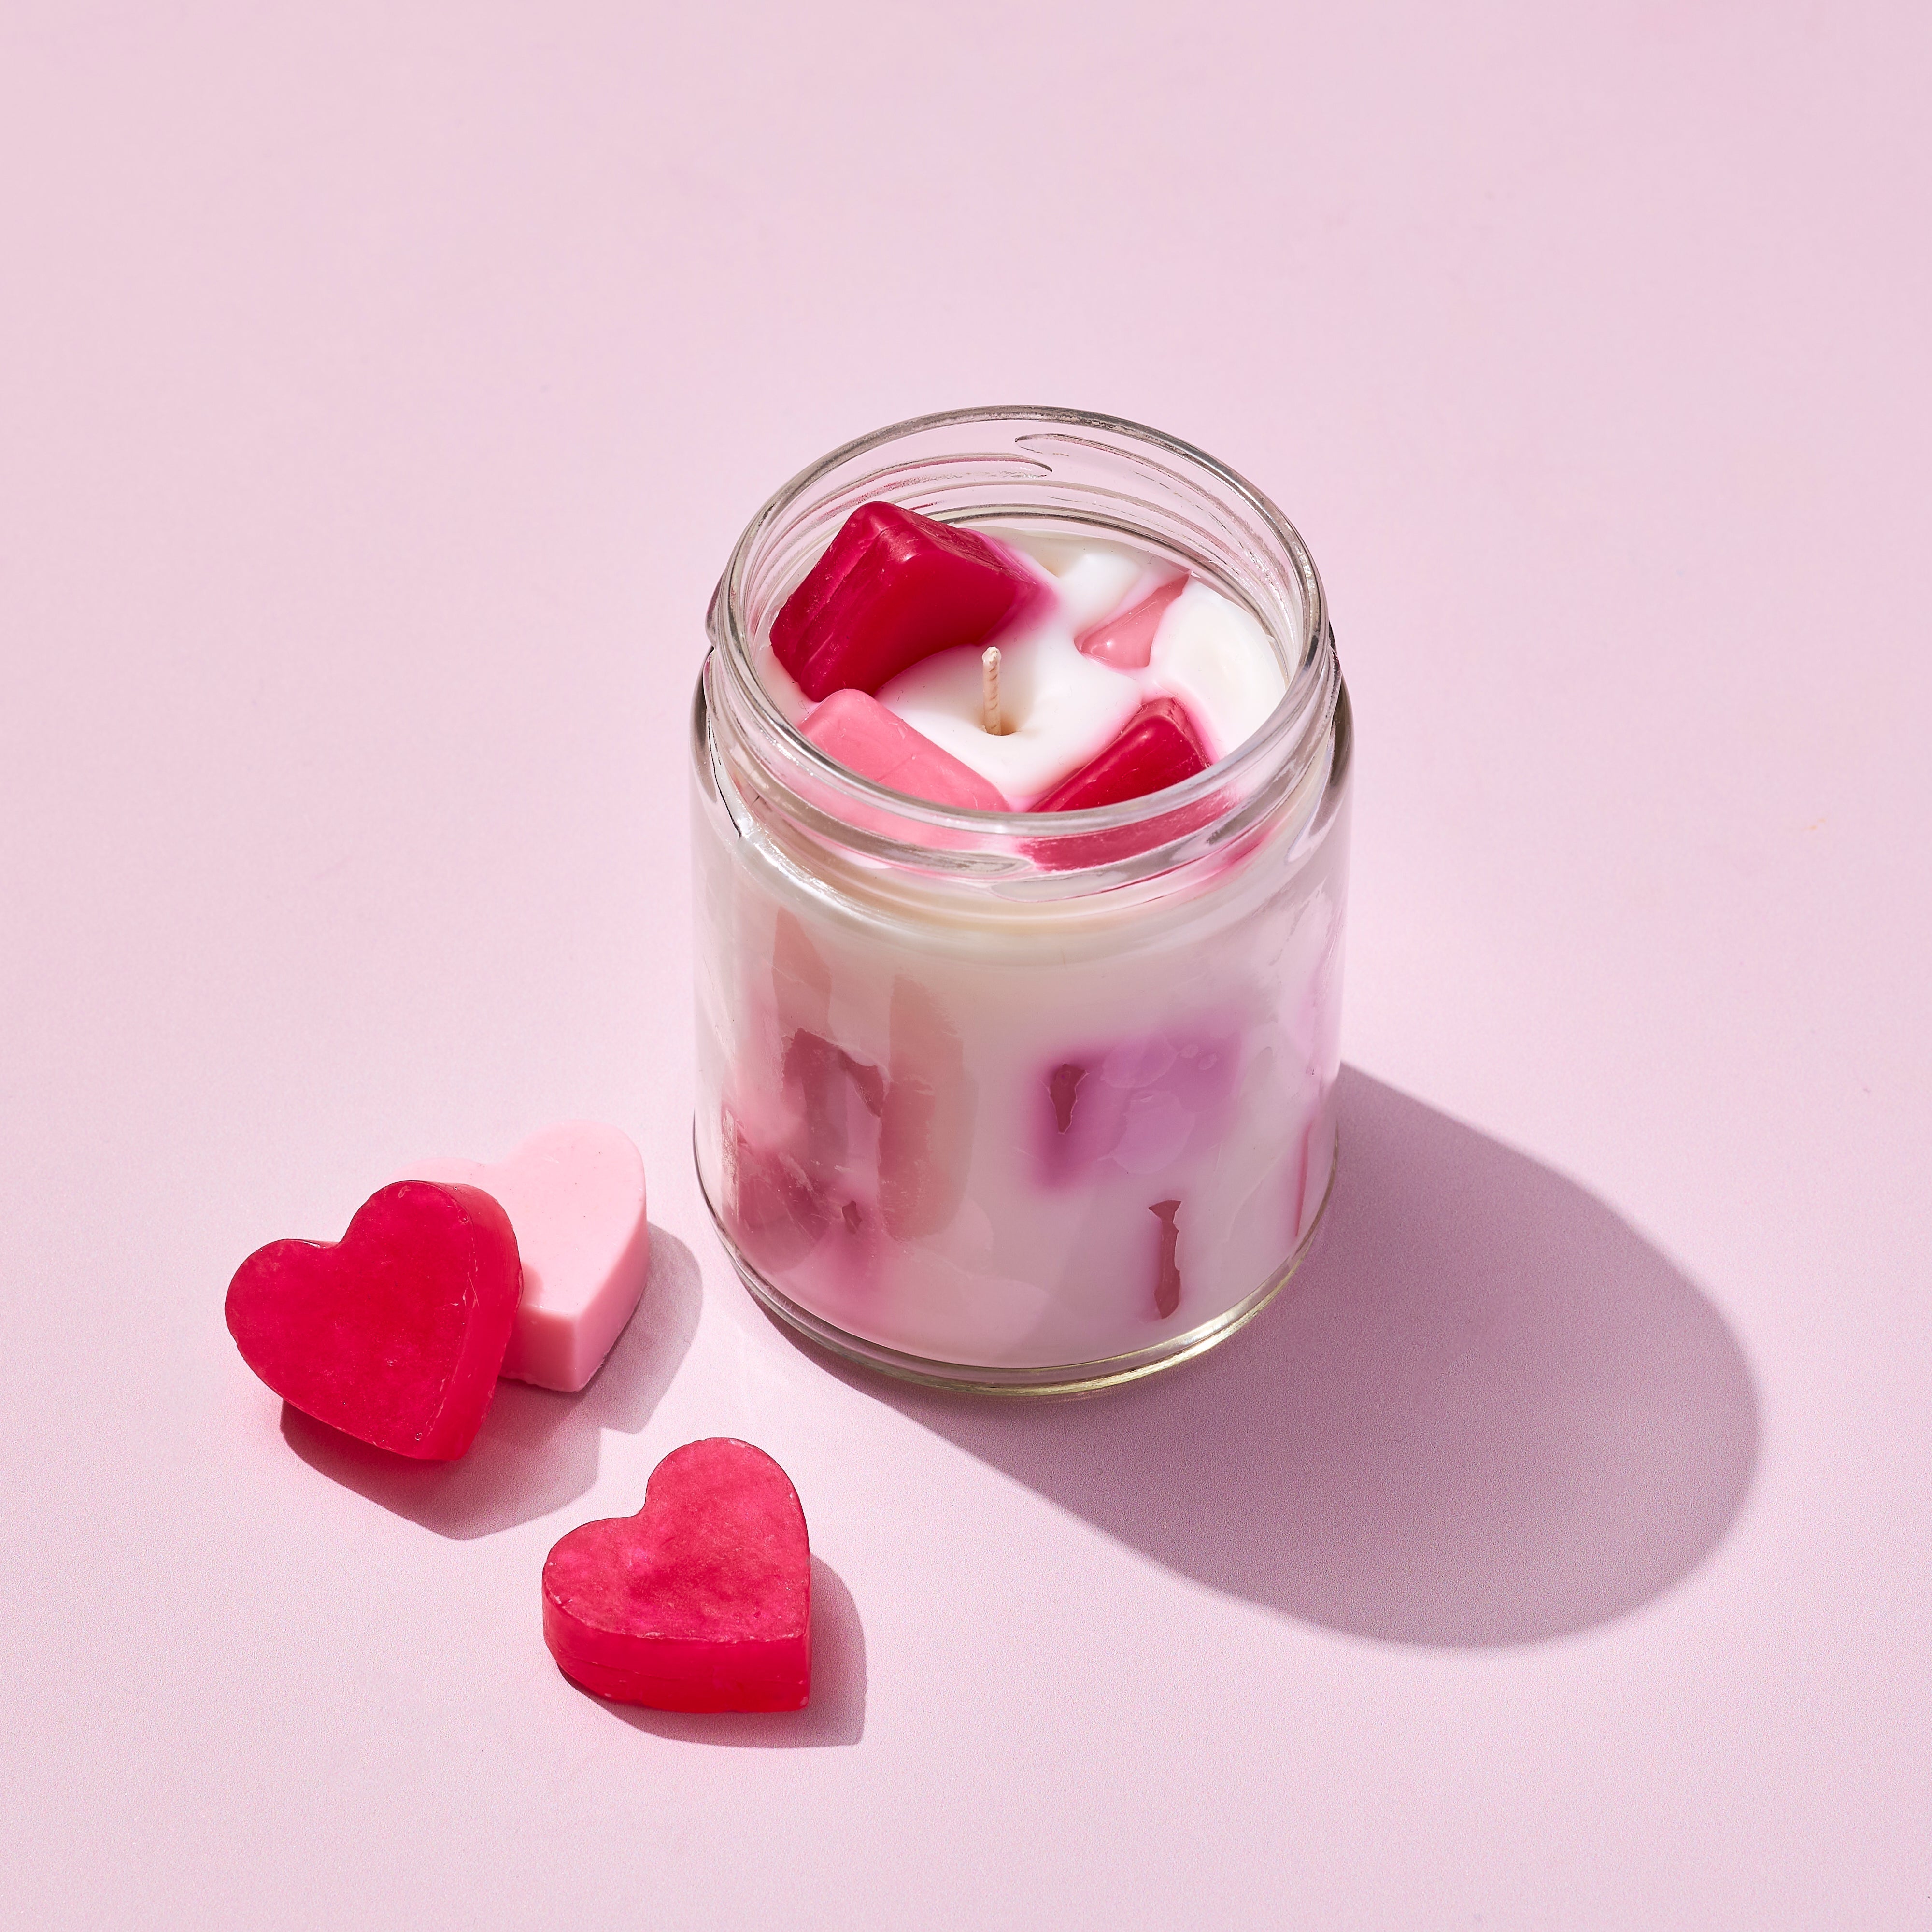
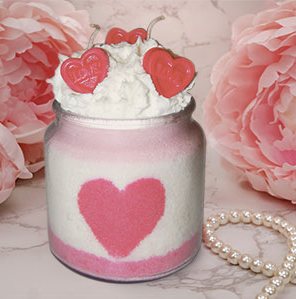
Valentine's Chunky Candle
Recipe
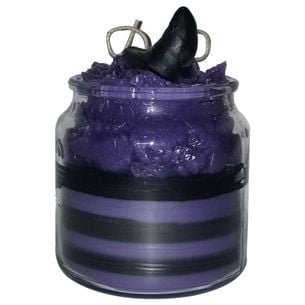
Witches Brew Candle Recipe

Recipe
Wintery Candy Apple Candle Recipe
Recipe
Vanilla Rose Massage Candle Recipe
Recipe
Valentines Day Candle Recipe
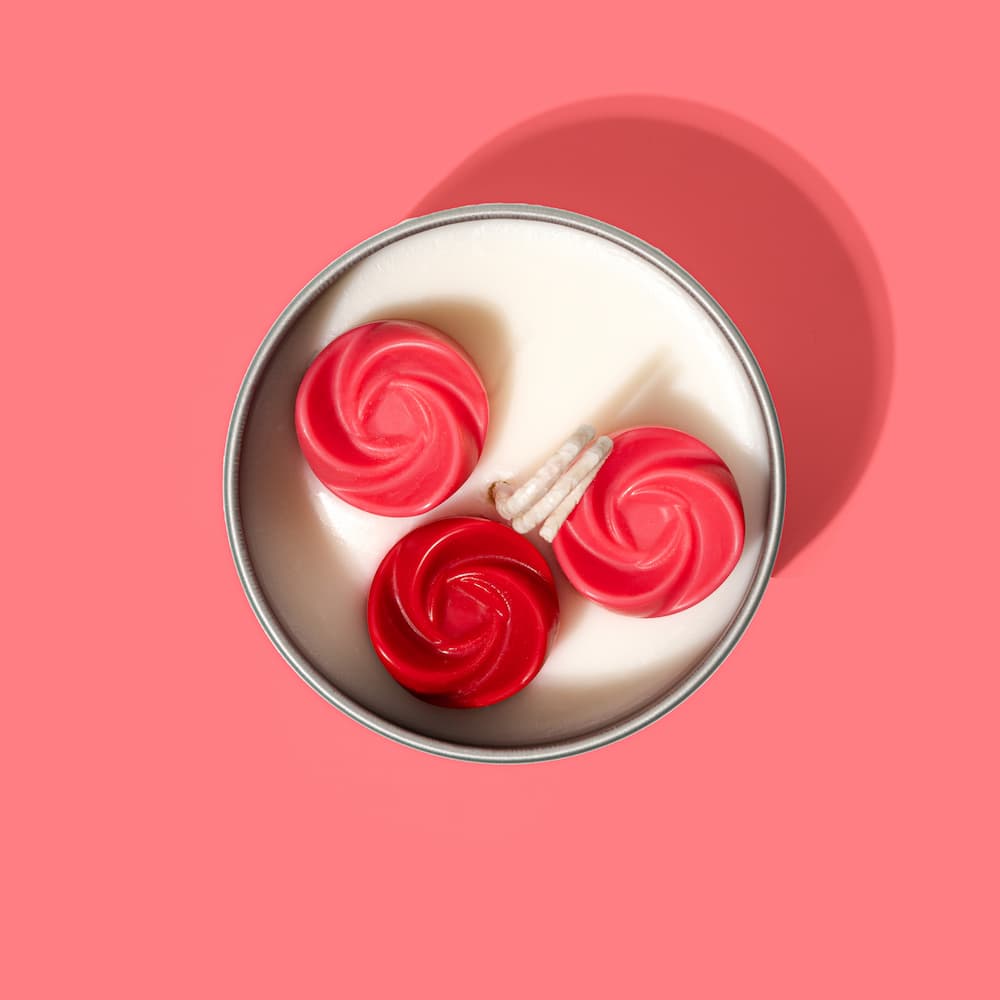
Recipe
Vanilla Rose Candle Recipe
Recipe
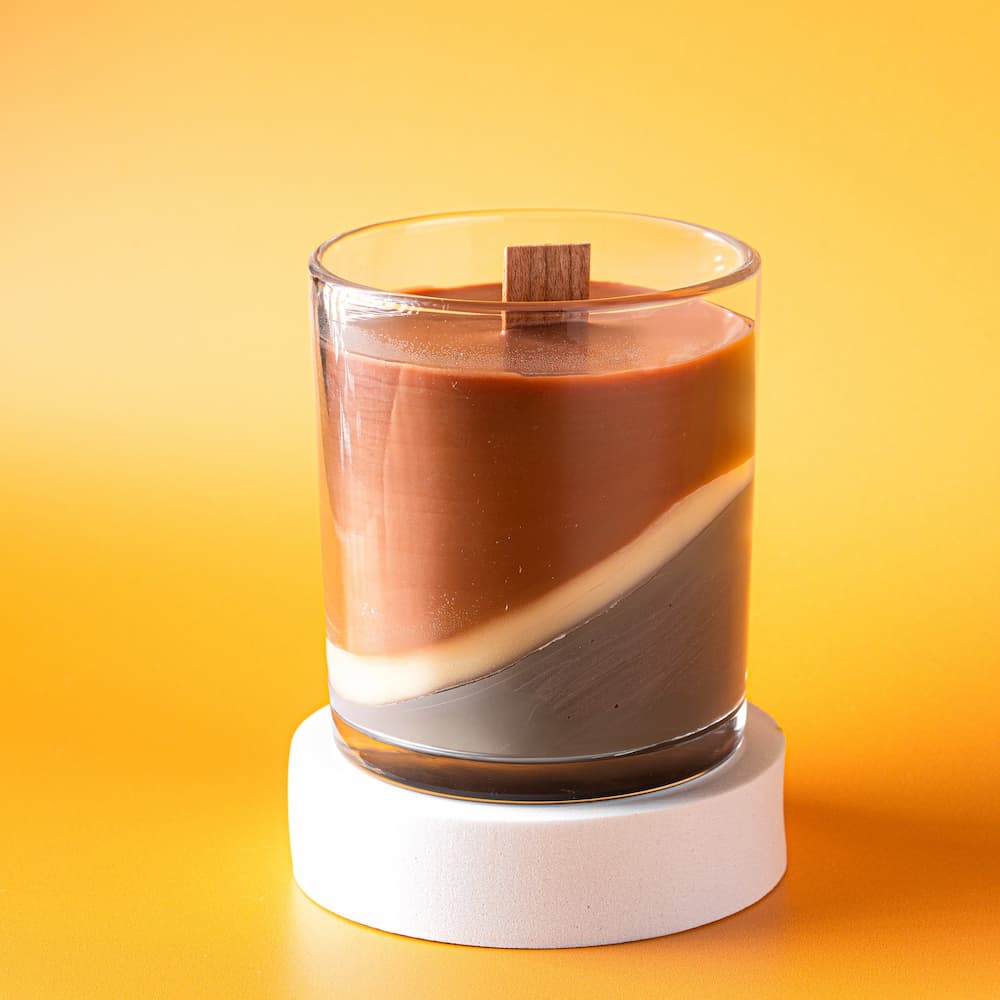
Tonka & Tobacco Candle Recipe
Recipe
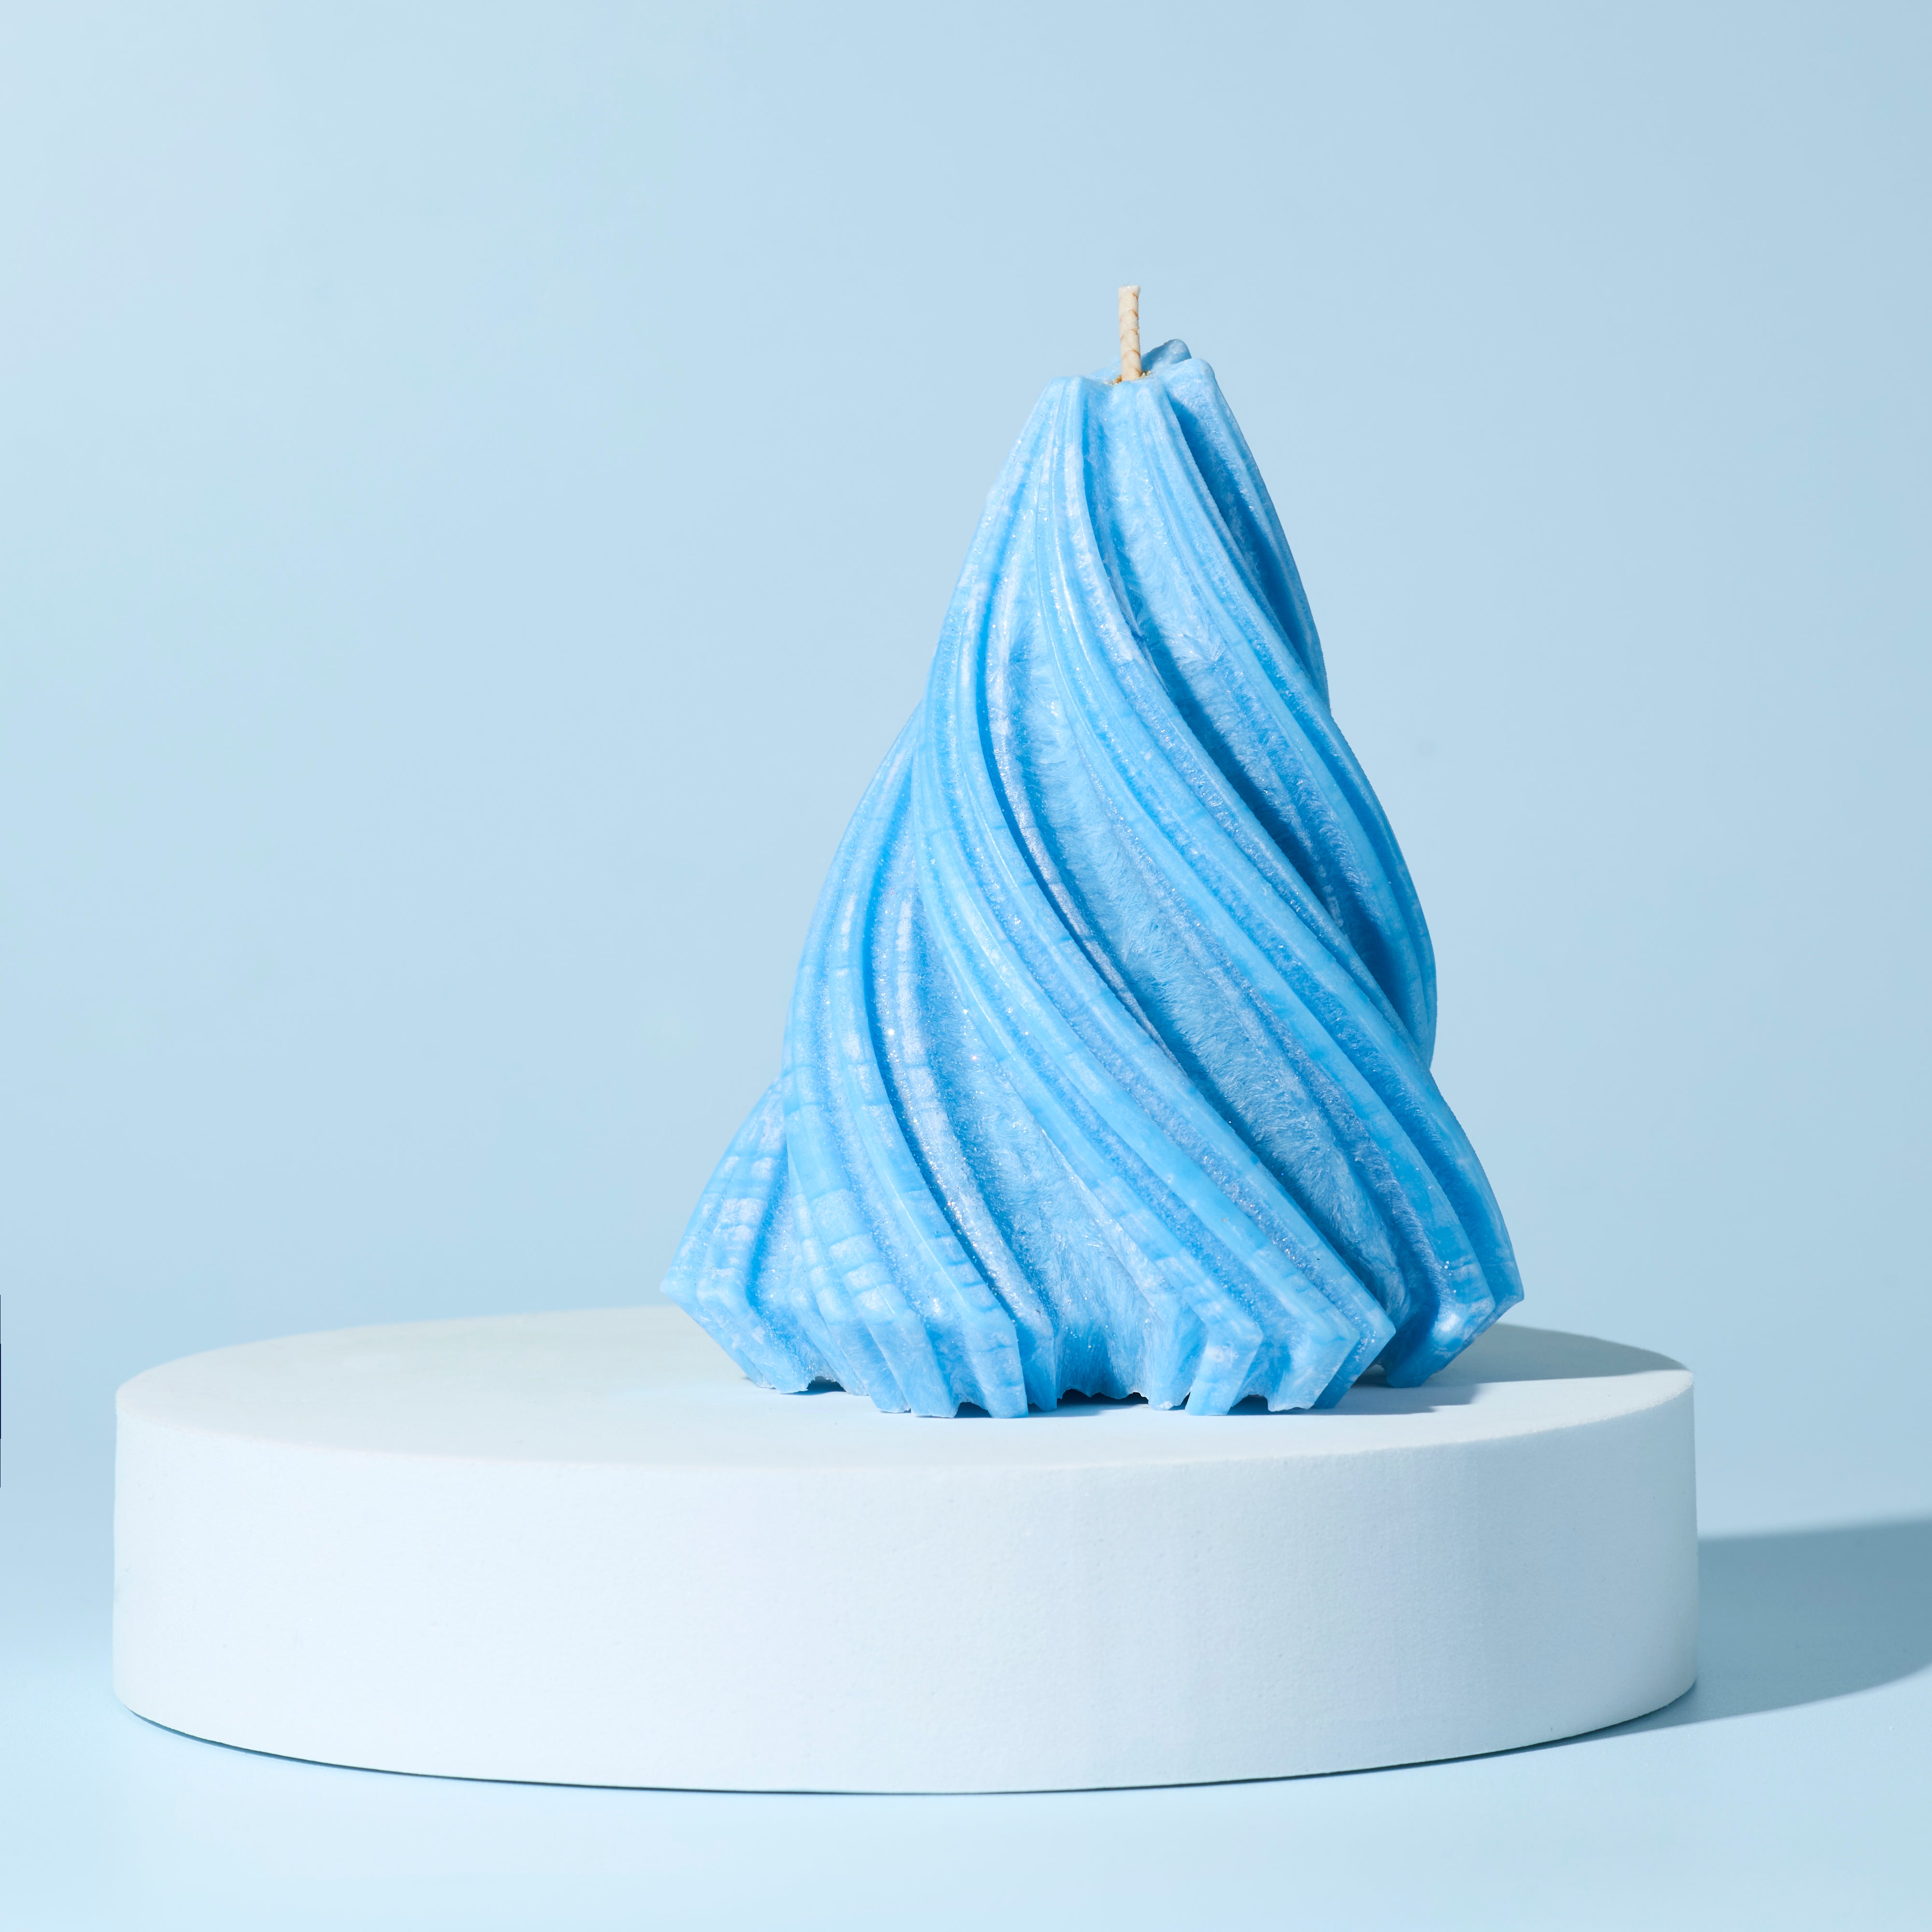
Tilted Candle Recipe
Recipe
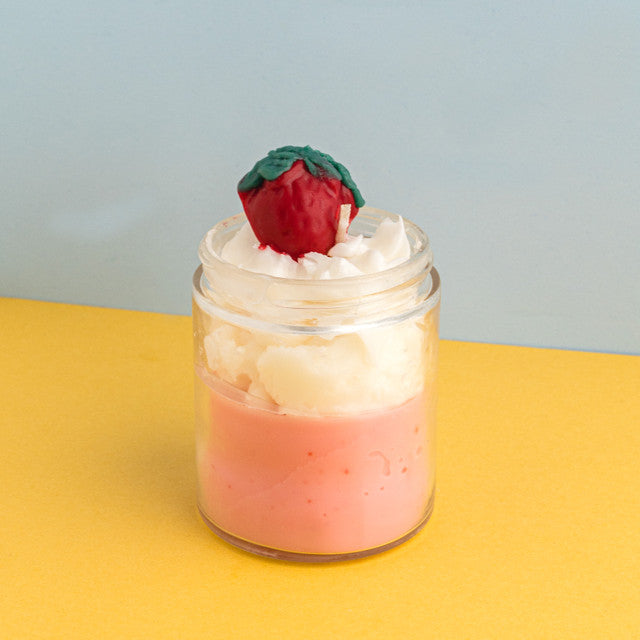
Sugared Strawberry Candle Recipe
Recipe